Hytale Scarak Guide: Castes, Hive Structures, Drops, and Zone 2 Survival
Hytale Scarak Guide: Castes, Hive Structures, Drops, and Zone 2 Survival
Hytale scarak guide for Howling Sands. Learn every caste, hive structure, Scarak drops, and combat priorities before you enter Zone 2 tunnel networks.
Quick Summary
Best MethodScaraks are the reason Zone 2 punishes players who rush. The Howling Sands insect faction doesn’t fight like surface mobs - Warriors hold the front, Locusts attack from above, and Shield Scaraks seal off entire passages while the rest close distance behind you. Every hive entry is a staged encounter whether you treat it that way or not. This guide covers every caste, key Scarak structures, confirmed drops, and how to survive Zone 2 hive routes.
Hytale Scarak Locations and Zone Context
Section titled “Hytale Scarak Locations and Zone Context”Scaraks are tied to the Zone 2 desert ecosystem and show up around ruins, nest networks, and high-value structure routes. If you need full regional context, start with the zone page: /world/zones/howling-sands/.
| Category | Details |
|---|---|
| Primary Zone | Howling Sands (Zone 2) |
| Temperament | Always hostile |
| Core Habitat | Nests, tunnel complexes, structure perimeters |
| Main Threat Pattern | Multi-caste swarms and lane denial |
| Historical Rival | Ferans (historically enslaved by Scaraks) |
Scaraks are not just random surface mobs. Their encounter design rewards players who read battlefield roles fast and punish players who tunnel-vision one target.
Hytale Scarak Caste Breakdown
Section titled “Hytale Scarak Caste Breakdown”Current research identifies six operational caste groups plus the hive leader.
| Caste | Role | Threat Level | Notes |
|---|---|---|---|
| Larvae | Hatch from egg sacks, grow into adult forms | Medium (in numbers) | Fast escalation source if left unchecked |
| Warriors | Ground defenders for hive grounds and tunnels | High | Core melee pressure |
| Locusts | Aerial defenders around hive airspace | High | Force ranged responses |
| Workers | Hive maintenance and support activity | Medium | Possible Feran oversight behavior |
| Tanks (Shield Scaraks) | Living wall that blocks passages | Very High | Can stop tunnel movement entirely |
| Broodmother | Hive leader and egg-layer | Boss-tier | Central objective in deep hive routes |
Caste targeting priority
Section titled “Caste targeting priority”- Locusts when they interrupt healing or ranged lines.
- Tanks when they lock rotation paths.
- Warriors once you recover movement space.
- Larvae clusters before they compound pressure.
Workers are often lower immediate priority unless they are controlling route flow around objective rooms.
Scarak Structures You Should Know
Section titled “Scarak Structures You Should Know”Scarak activity clusters around a small set of structure archetypes, and each structure implies a different risk profile.
| Structure | What You Find | Why It Matters |
|---|---|---|
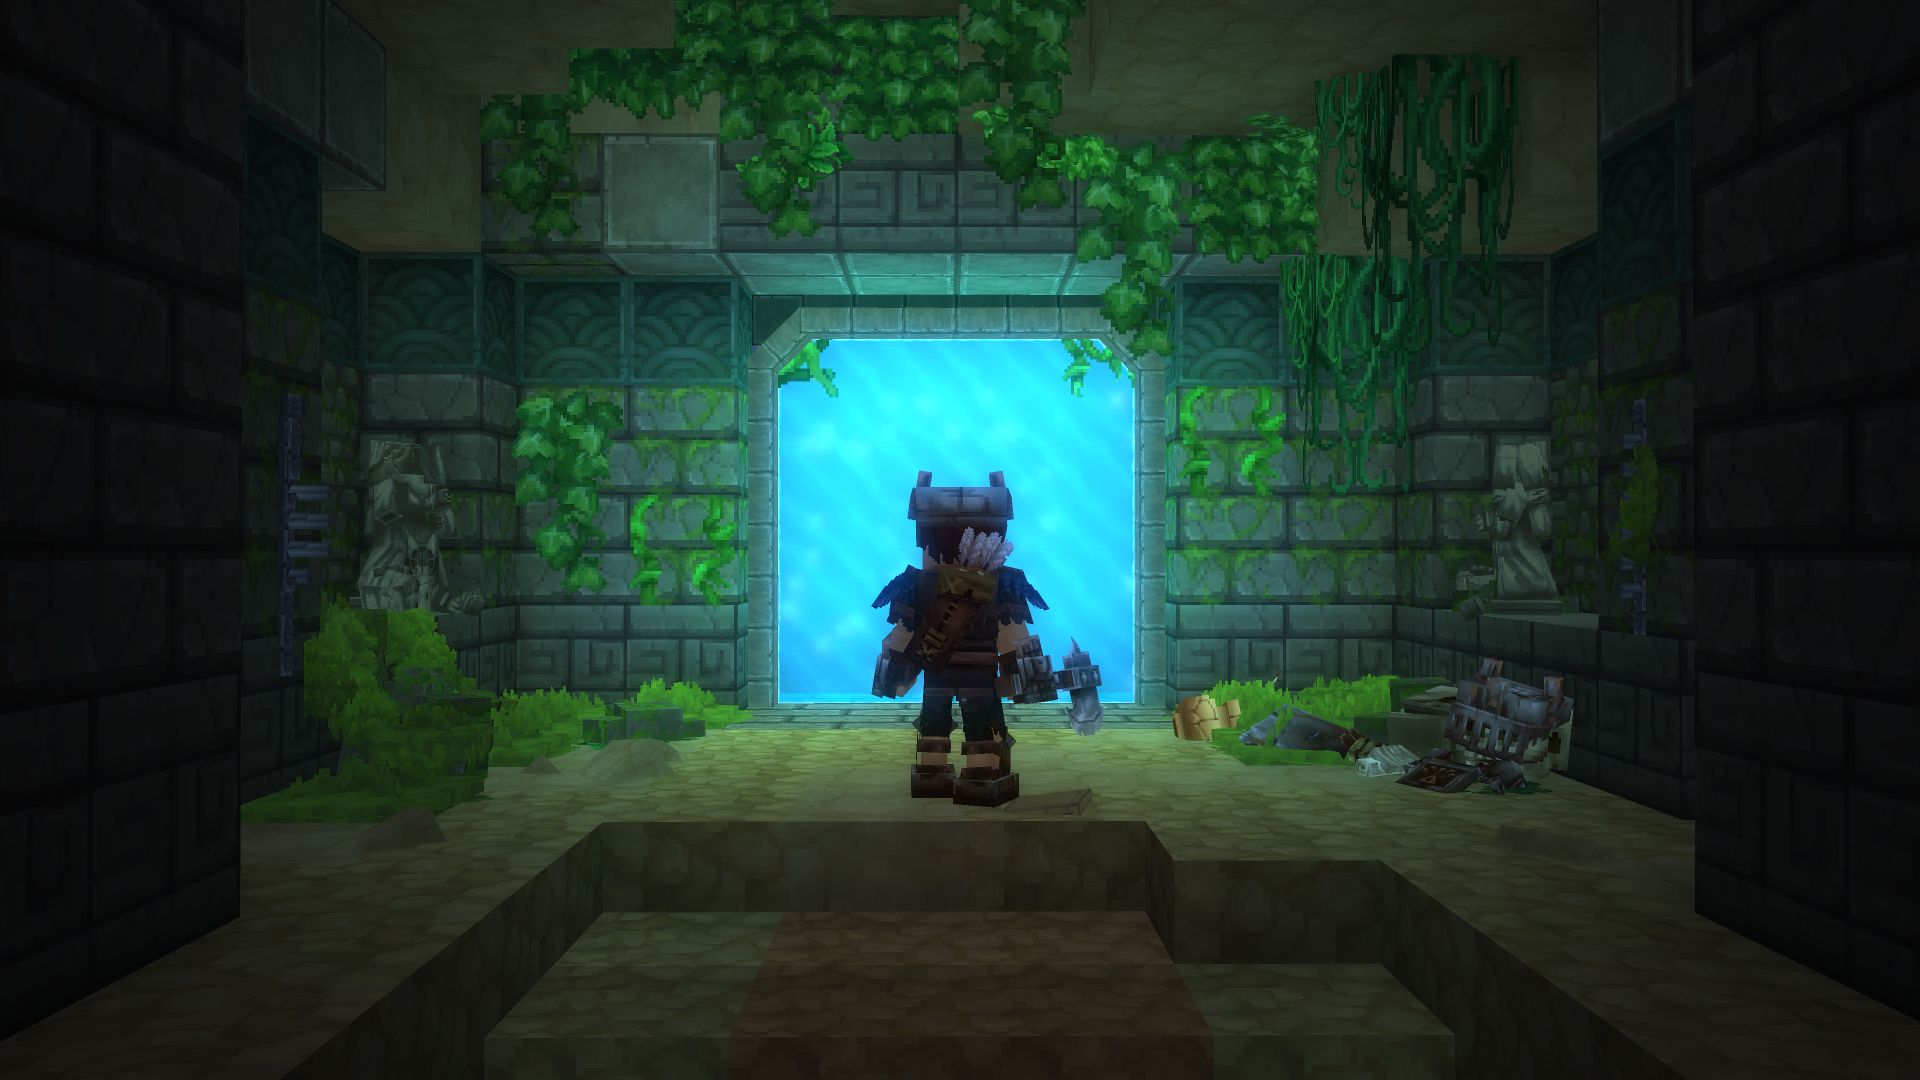
| Ziggurat | Surface ruin with crystal room and treasure routes | Entry point to dense tunnel defenses |
| Sand Palace | Ornate ancient complex with portal access | Includes gateway path to Sand Empress content |
| Scarak Nest | Underground egg and tunnel network | Highest caste density and swarm pressure |
| Prison Cave | Captive-oriented chambers, likely Feran link | Mixed combat and lore objective space |
Treat structure interiors as progressive risk ladders. Each deeper chamber usually narrows movement and increases layered caste pressure.
How to Fight Scaraks Without Getting Overrun
Section titled “How to Fight Scaraks Without Getting Overrun”The most common wipe pattern in Zone 2 is entering tunnels too fast and losing your retreat line to Shield Scaraks. Use this sequence instead.
1. Secure the outer ring
Section titled “1. Secure the outer ring”Clear perimeter patrols before stepping underground. You want stamina full, cooldowns ready, and no surface stragglers behind you.
2. Mark retreat lanes
Section titled “2. Mark retreat lanes”Use torches, blocks, or waypoint habits so you can backtrack quickly. Tunnel geometry makes disorientation a bigger risk than raw damage.
3. Pull by role, not by distance
Section titled “3. Pull by role, not by distance”If possible, bait Warriors forward without collapsing into Tank walls. Force Locusts into open arcs where ranged weapons can remove them first.
4. Respect Shield Scarak choke points
Section titled “4. Respect Shield Scarak choke points”When Tanks line up, do not commit into the wall unless you have burst windows and escape options. Rotate out, reset angle, and re-engage.
5. Save resources for brood rooms
Section titled “5. Save resources for brood rooms”If your route includes Broodmother progression, preserve potions and burst abilities. The final room is a different fight class than standard swarm packs.
For dedicated boss strategy and drop tables, use the Scarak Broodmother boss guide and the broader Encounters hub.
Drops, Progression Value, and Farming Notes
Section titled “Drops, Progression Value, and Farming Notes”The most established Scarak drop callout is Venom Sac from Scarak Seeker-type enemies. We also now have an extractor-backed Broodmother drop table in the dedicated boss guide.
| Drop Source | Known Drop | Status |
|---|---|---|
| Scarak Seeker | Venom Sac | Confirmed |
| Warriors / Workers / Locusts | Stats being documented | In progress |
| Scarak Broodmother | Venom Sac (2-3), Sturdy Chitin (4-6) | Confirmed drop table |
| Deep hive elites | Stats being documented | In progress |
Scaraks are worth farming when your build specifically needs venom-related crafting components or encounter-specific materials. If your goal is broad progression speed, split your time between Scarak routes and teleporter infrastructure so travel downtime does not erase combat gains.
Scarak in the Zone 2 Progression Flow
Section titled “Scarak in the Zone 2 Progression Flow”Scaraks are a major checkpoint for players moving from Zone 1 comfort into medium-difficulty route discipline. They test:
- Target prioritization under pressure.
- Resource management in long tunnel loops.
- Team coordination if you are playing co-op.
In practical hytale scarak progression, you should not treat these fights as optional noise. They are one of the clearest skill filters before late-zone content.
Common Questions
Section titled “Common Questions”Where do Scaraks spawn in Hytale?
Section titled “Where do Scaraks spawn in Hytale?”Scaraks spawn in Howling Sands (Zone 2), especially around underground nests, ziggurat tunnel systems, and palace-linked ruins.
Are all Scaraks hostile?
Section titled “Are all Scaraks hostile?”Yes. Scaraks are a hostile faction and should be treated as combat threats in both open desert and tunnel encounters.
What are the Scarak castes in Hytale?
Section titled “What are the Scarak castes in Hytale?”Known castes include Larvae, Warriors, Locusts, Workers, Tanks (Shield Scaraks), and the Broodmother.
What is the rarest confirmed Scarak drop?
Section titled “What is the rarest confirmed Scarak drop?”The best-confirmed drop is Venom Sac from Scarak Seeker variants. Additional drop rates are still being documented.
Is the Scarak Broodmother a boss?
Section titled “Is the Scarak Broodmother a boss?”Yes. Use the dedicated Scarak Broodmother guide for location, fight prep, and a game-file drop table.
How do I prepare for Scarak Tanks blocking tunnels?
Section titled “How do I prepare for Scarak Tanks blocking tunnels?”Use crowd-control spacing, ranged damage, and retreat markers. Shield Scaraks can block entire passages, so avoid deep tunnel pushes without exits.