Hytale Adventure Mode Route: Hytale Progression Guide for Early Access
Hytale Adventure Mode Route: Hytale Progression Guide for Early Access
Players searching hytale adventure mode usually want one thing: the best order to clear zones and systems. In Early Access (launched January 13, 2026), Adventure Mode is not yet a standalone mode, so real hytale progression currently happens through Exploration Mode. The route is still clear: build your base and unlock Memories in Zone 1, stabilize combat and logistics in Zone 2, prepare heavily for the Zone 3 spike, then treat Zone 4 as endgame risk management. This guide gives you a practical progression path — including the correct gear tier order from Crude through Adamantite — that you can follow solo or in co-op.
Hytale Adventure Mode vs Exploration Mode (Current Reality)
Section titled “Hytale Adventure Mode vs Exploration Mode (Current Reality)”To avoid confusion, here is the current state:
| Mode | Status in Early Access | What It Means for Your Route |
|---|---|---|
| Exploration Mode | Playable now | Main progression experience |
| Creative Mode | Playable now | Building and testing, not progression-focused |
| Adventure Mode | Not yet separate | Search intent maps to Exploration Mode route planning |
So this page targets the hytale adventure mode keyword but uses the progression systems available right now. If mode structure changes in a future update, this route will be revised.
Hytale Progression Route by Zone
Section titled “Hytale Progression Route by Zone”This is the core zone order, including practical difficulty expectations and key resources.
| Zone | Name | Element | Difficulty | Key Resource | Core Goal Before You Move On |
|---|---|---|---|---|---|
| 1 | Emerald Grove | Earth | Beginner | Copper, Iron | Base setup, Forgotten Temple, early gear and farming loop |
| 2 | Howling Sands | Wind | Medium | Thorium | Desert survival stability, mid-tier gear, portal prep |
| 3 | Whisperfrost Frontiers (Borea) | Water | Hard | Cobalt | Cold-region planning, resource staging, Voidheart farming |
| 4 | Devastated Lands | Fire | Endgame | Adamantite | High-risk optimization, late rewards, expensive mistake control |
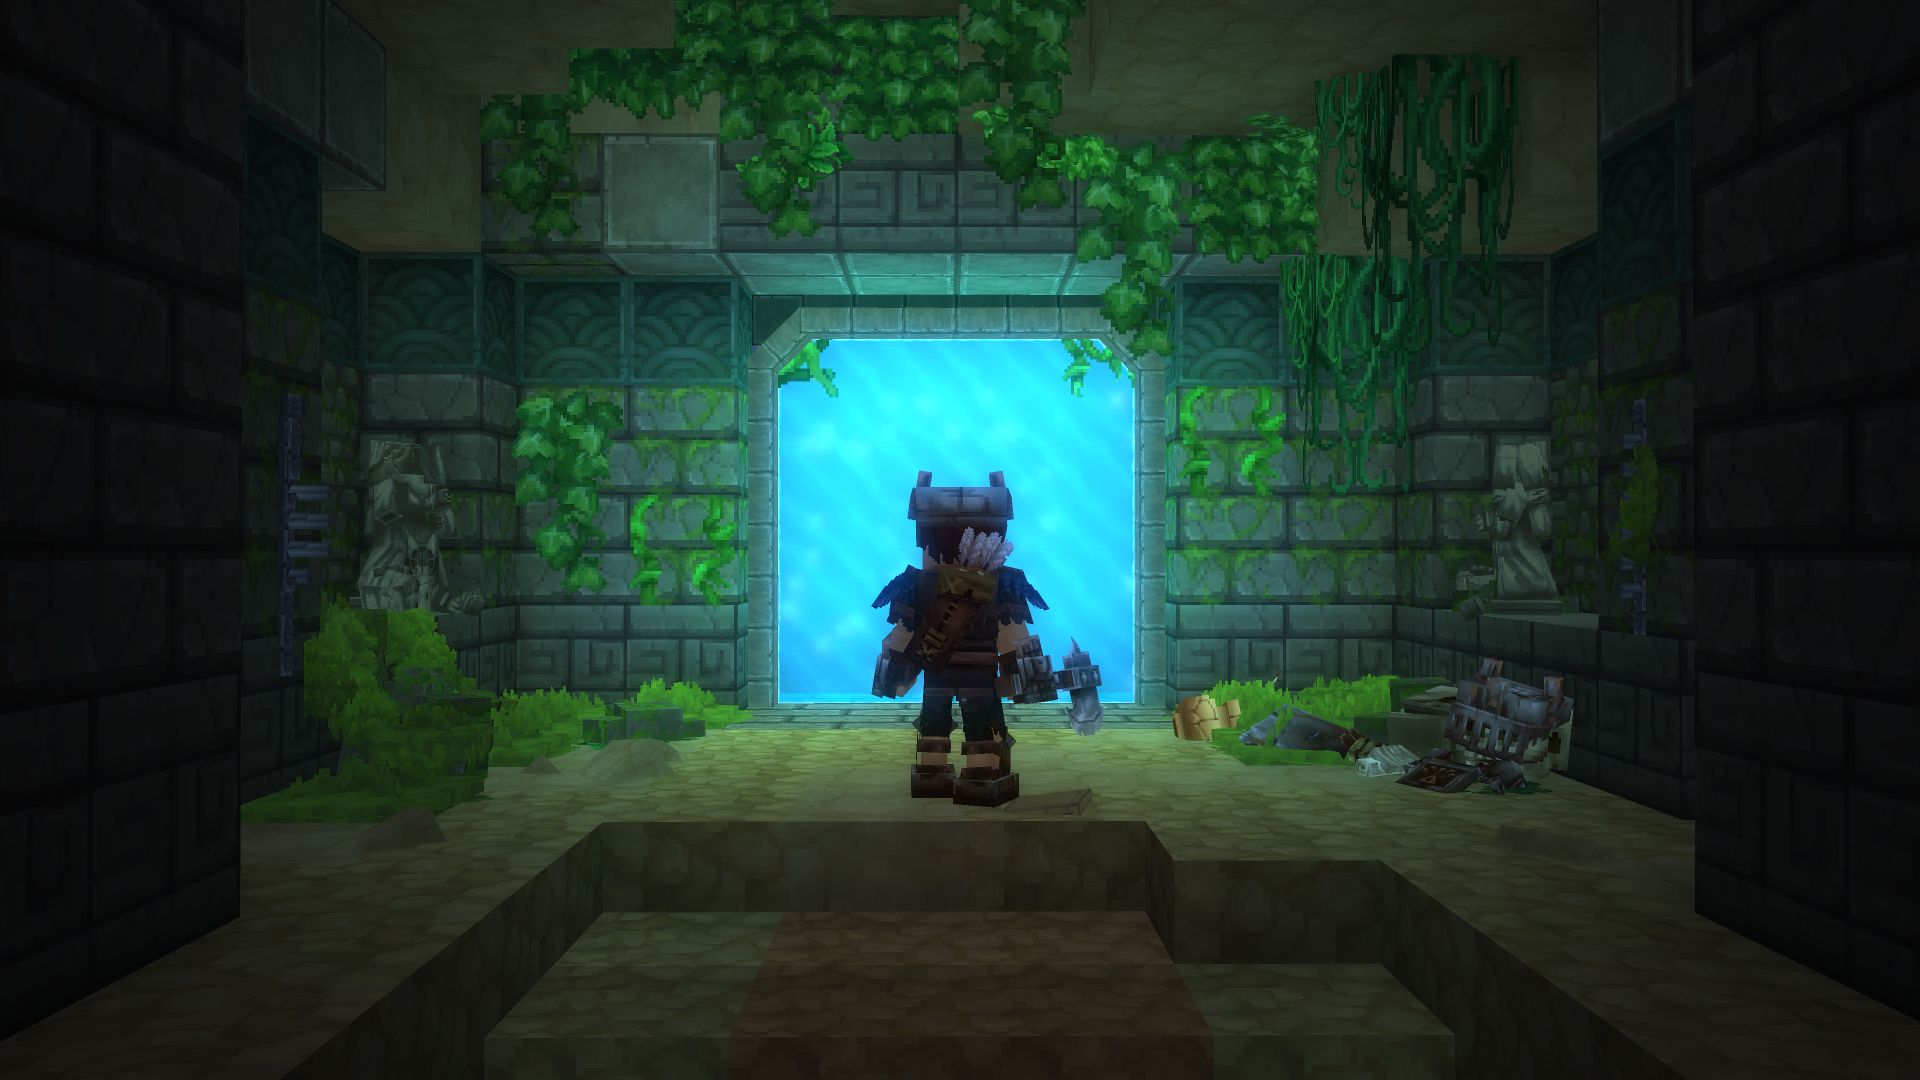
Each zone also features Ocean Biomes with unique underwater challenges that require specialized equipment.
Your progression speed is less about sprinting forward and more about exiting each zone with the right unlocks.
Phase 1: Zone 1 Emerald Grove Foundation
Section titled “Phase 1: Zone 1 Emerald Grove Foundation”Zone 1 is where most successful long runs are decided. If your setup is weak here, every later zone feels harder than it should. The Emerald Grove covers lush grasslands, dense forests, and swamp regions, all rich in Copper and Iron.
Priority checklist
Section titled “Priority checklist”- Establish your first base near Forgotten Temple travel lines.
- Gather Copper and Iron for your first reliable tool and armor sets.
- Complete early material loops for stable food output.
- Visit the Forgotten Temple and unlock the Memory system via the Heart of Orbis.
- Start teleporter planning even if your network is still small.
Friendly Kweebec villages offer early trade access and Essence of Life income. See the Kweebec guide for merchant routing tips.
Use the zone reference page for route context: /world/zones/emerald-grove/.
Use the milestone walkthrough here: /progression/forgotten-temple/.
Why Temple-first routing works
Section titled “Why Temple-first routing works”The Forgotten Temple is the first major progression multiplier. Unlocking Memories early gives long-term value that compounds through every zone transition.
Phase 2: Zone 2 Howling Sands Stabilization
Section titled “Phase 2: Zone 2 Howling Sands Stabilization”Zone 2 introduces harsher survival pressure and faction threats that punish casual routing. The Howling Sands is an arid desert region with canyons, oases, and large sand temples. This is where you stop improvising and start planning loadouts per objective.
What to complete in Zone 2
Section titled “What to complete in Zone 2”- Secure stable water, food, and travel loops for desert conditions.
- Mine Thorium ore (green-colored, found in caves, cliff faces, Badlands, Savannas, and Desolate Basin sub-biomes).
- Upgrade your Armorer’s Workbench and Blacksmith’s Anvil to Tier 2 to craft Thorium gear. Thorium equipment provides additional poison resistance.
- Map Scarak and ruin routes without overcommitting deep tunnels.
- Identify and mark zone portal paths for efficient backtracking.
You should have at least a full set of Iron armor and weapons before entering Zone 2. If you skip side objectives here and rush forward, Zone 3 difficulty usually feels like a wall instead of a step.
Phase 3: Zone 3 Whisperfrost Frontiers (Borea) Discipline
Section titled “Phase 3: Zone 3 Whisperfrost Frontiers (Borea) Discipline”Zone 3 is the first true planning check. Borea is a frozen wasteland with pine forests, snowy mountains, and ice caverns, aligned with the Water element. The environment and enemy pressure expose weak preparation fast.
Key threats
Section titled “Key threats”- Elemental Golems — durable and hard-hitting.
- Outlanders — organized hostile faction.
- Yetis — high burst damage in mountain areas.
Recommended approach
Section titled “Recommended approach”- Enter with at least Thorium gear and stocked consumables.
- Mine Cobalt ore for your next equipment tier. Cobalt gear provides bonus special-attack damage.
- Farm Voidhearts in icy biomes to unlock the Tier 3 Armorer’s Workbench, required for crafting Adamantite equipment.
- Use short objective runs rather than long greedy loops.
- Expand teleporter coverage before deep resource pushes.
- Practice retreat timing; resets are cheaper than forced wipes.
A controlled Zone 3 pace keeps you advancing while preserving resources for Zone 4.
Phase 4: Zone 4 Devastated Lands Endgame Control
Section titled “Phase 4: Zone 4 Devastated Lands Endgame Control”Zone 4 is not just harder combat. It is a volcanic, scorched landscape with lava flows and fire-aligned threats — a mistake-tax zone where bad decisions are expensive. A January 2026 update expanded the underworld with new dinosaur NPCs and deeper cave systems.
Key resource
Section titled “Key resource”Adamantite ore is found in the Cinder Wastes sub-biome and is currently the strongest craftable material. Craft it at your Tier 3 Armorer’s Workbench (unlocked via Voidhearts in Zone 3).
Rules for consistent progress
Section titled “Rules for consistent progress”- Never enter with only one viable gear set.
- Scout surface lanes before committing underground.
- Keep extraction routes open at all times.
- Treat every boss or elite route as a separate resource budget.
If you are still learning Zone 4 layouts, explore the surface first before deep commitment routes.
Gear Tiers and Exit Benchmarks
Section titled “Gear Tiers and Exit Benchmarks”A simple tier framework prevents premature zone transitions. The full material progression in Hytale is:
Crude → Copper → Iron → Thorium → Cobalt → Adamantite
Higher tiers require upgraded crafting stations (Armorer’s Workbench, Blacksmith’s Anvil) to unlock.
| Progress Stage | Minimum Comfortable Tier | Why It Matters |
|---|---|---|
| Zone 1 early | Crude | Enough to stabilize basics while building loops |
| Zone 1 exit / Zone 2 entry | Iron | Required durability and damage output for Zone 2 threats |
| Zone 2 mid / Thorium farming | Thorium | Poison resistance; crafted at Tier 2 workbenches |
| Zone 3 entry | Thorium or Cobalt | Cobalt provides special-attack damage for Borea enemies |
| Zone 3 late / Zone 4 entry | Cobalt → Adamantite | Adamantite requires Tier 3 Armorer’s Workbench (Voidheart unlock) |
Do not treat these as speedrun constraints. They are safety thresholds for steady progression.
Memories, Teleporters, and Long-Term Route Efficiency
Section titled “Memories, Teleporters, and Long-Term Route Efficiency”Two progression systems save the most time over a full run: Memories and Teleporters.
How the Memory System works
Section titled “How the Memory System works”- Find the Forgotten Temple (marked on your map with a portal icon near spawn).
- Interact with the Heart of Orbis — a glowing blue statue inside the temple — to activate the Memory System.
- Approach new creatures and NPCs throughout the world. Simply getting close enough records their memory; combat is not required.
- Return to the Heart of Orbis to restore collected memories and unlock milestones.
Teleporter progression
Section titled “Teleporter progression”- Each memory milestone increases the maximum number of teleporters you can deploy.
- Starting capacity: 6 teleporters. Maximum after full progression: 12 teleporters.
- Teleporters are crafted at an Arcanist’s Workbench, which requires its own crafting progression upgrades.
Together, Memories and Teleporters reduce the cost of death, detours, and material transport across all four zones.
Build this system early using the teleporter guide: /progression/teleporters/.
For most players, the best base location is near Forgotten Temple routes so Memory turn-ins and network expansion stay convenient.
Co-op Progression, Boss Scaling, and Revive Value
Section titled “Co-op Progression, Boss Scaling, and Revive Value”Co-op is strong for progression, but only when roles are clear.
| Co-op Factor | Effect on Progression |
|---|---|
| Boss scaling | Bosses scale with player count, so damage and coordination requirements increase |
| Revives | Teammates can revive each other, reducing total run failures |
| Role splitting | One player can anchor logistics while others clear objectives |
| Travel sync | Shared teleporter planning multiplies team efficiency |
In practice, co-op often makes hard transitions safer even when bosses scale up, because revive potential and specialization reduce wipe frequency.
Common Route Mistakes That Slow Hytale Progression
Section titled “Common Route Mistakes That Slow Hytale Progression”- Rushing to the next zone before side objectives and upgrades are done.
- Delaying Forgotten Temple unlocks until midgame.
- Ignoring teleporter setup and wasting hours on repeated travel.
- Entering new zones with a single fragile gear loadout.
- Treating every encounter as mandatory instead of route-selecting objectives.
If your run feels stalled, fix one bottleneck at a time: movement, sustain, gear, then encounter depth.
Conclusion: Practical Hytale Adventure Mode and Hytale Progression Path
Section titled “Conclusion: Practical Hytale Adventure Mode and Hytale Progression Path”The best current answer for hytale adventure mode is a structured Exploration Mode route: finish Zone 1 fundamentals, stabilize Zone 2, prepare deliberately for Zone 3, and respect Zone 4 as endgame. Following this hytale progression sequence gives you better survival, less wasted travel, and faster access to the systems that matter most.
Common Questions
Section titled “Common Questions”Is Adventure Mode playable in Hytale Early Access right now?
Section titled “Is Adventure Mode playable in Hytale Early Access right now?”Not as a separate mode. Early Access currently centers on Exploration Mode and Creative Mode. This route guide targets adventure mode searches by mapping the practical Exploration Mode progression path.
What is the correct zone order in Hytale progression?
Section titled “What is the correct zone order in Hytale progression?”The core order is Zone 1 Emerald Grove, Zone 2 Howling Sands, Zone 3 Whisperfrost Frontiers (Borea), then Zone 4 Devastated Lands.
When should I do the Forgotten Temple in progression?
Section titled “When should I do the Forgotten Temple in progression?”Do Forgotten Temple during Zone 1 after stabilizing your first base. It unlocks Memories, which directly improve teleport and progression efficiency.
What gear tiers should I target before leaving each zone?
Section titled “What gear tiers should I target before leaving each zone?”The full Hytale gear progression is Crude, Copper, Iron, Thorium, Cobalt, then Adamantite. Aim for Iron before Zone 2, Thorium during Zone 2, Cobalt in Zone 3, and Adamantite readiness before sustained Zone 4 routes.
Do bosses scale in co-op in Hytale?
Section titled “Do bosses scale in co-op in Hytale?”Yes. Boss difficulty scales with player count, but co-op groups can revive each other, which often improves consistency when learning encounters.
Should I rush zone portals as soon as I find them?
Section titled “Should I rush zone portals as soon as I find them?”No. Portal discovery is good, but rushing zone transitions before side objectives and gear checks usually causes resource loss and repeated deaths.
Sources
Section titled “Sources”Mode availability, zone order, elemental affiliations, ore distribution, gear tier progression, crafting workbench requirements, and progression system placement are based on Hytale Early Access gameplay state as of February 2026 (launch date January 13, 2026), and internal Kweebedia progression references. Forgotten Temple, Heart of Orbis, Memory System, and teleporter system dependencies are cross-checked against existing Kweebedia guides, community documentation, and in-game progression behavior.